

Chat applications have become an essential component of our daily lives in today’s digital landscape. The way we connect through chat has moved from customer assistance to personal communication. Chatbots have emerged as game changers as Artificial Intelligence (AI) advances have made chats more efficient, engaging, and personalized.
Imagine building a chatbot that can understand and respond to users just like ChatGPT. In this tutorial series, we’ll embark on an exciting journey to create a React Native chatbot app that harnesses the power of OpenAI’s language models and the Amity Chat API and SDK, and advanced React Native Chat UI Kit. Whether you’re a seasoned developer or a curious newcomer, this series will empower you to build chat applications that stand out in today’s AI-driven world.
Part 1: Laying the Foundation
In this initial part of our tutorial series, we’ll establish the foundation for our React Native chatbot app. We’ll cover essential topics such as setting up your development environment, understanding the OpenAI API, and creating a TypeScript Node.js backend. By the end of this segment, you’ll have a robust backend infrastructure ready to integrate AI chatbot capabilities.
Now, let’s dive into the details of each step:
Step 1: Understanding OpenAI API
Before diving into the technical implementation, it’s essential to grasp the basics of OpenAI API. OpenAI provides an API that allows you to interact with their language models programmatically. This API enables you to send prompts to the model and receive generated text as responses. The prompts can be tailored to initiate conversations, ask questions, or perform any other text-based task you require.
Step 2: Setting Up Your OpenAI Account
To get started, you’ll need an OpenAI account. Head to the OpenAI website and sign up for an account. Once you have an account, you’ll be able to access the API key, which is essential for making requests to the OpenAI API.
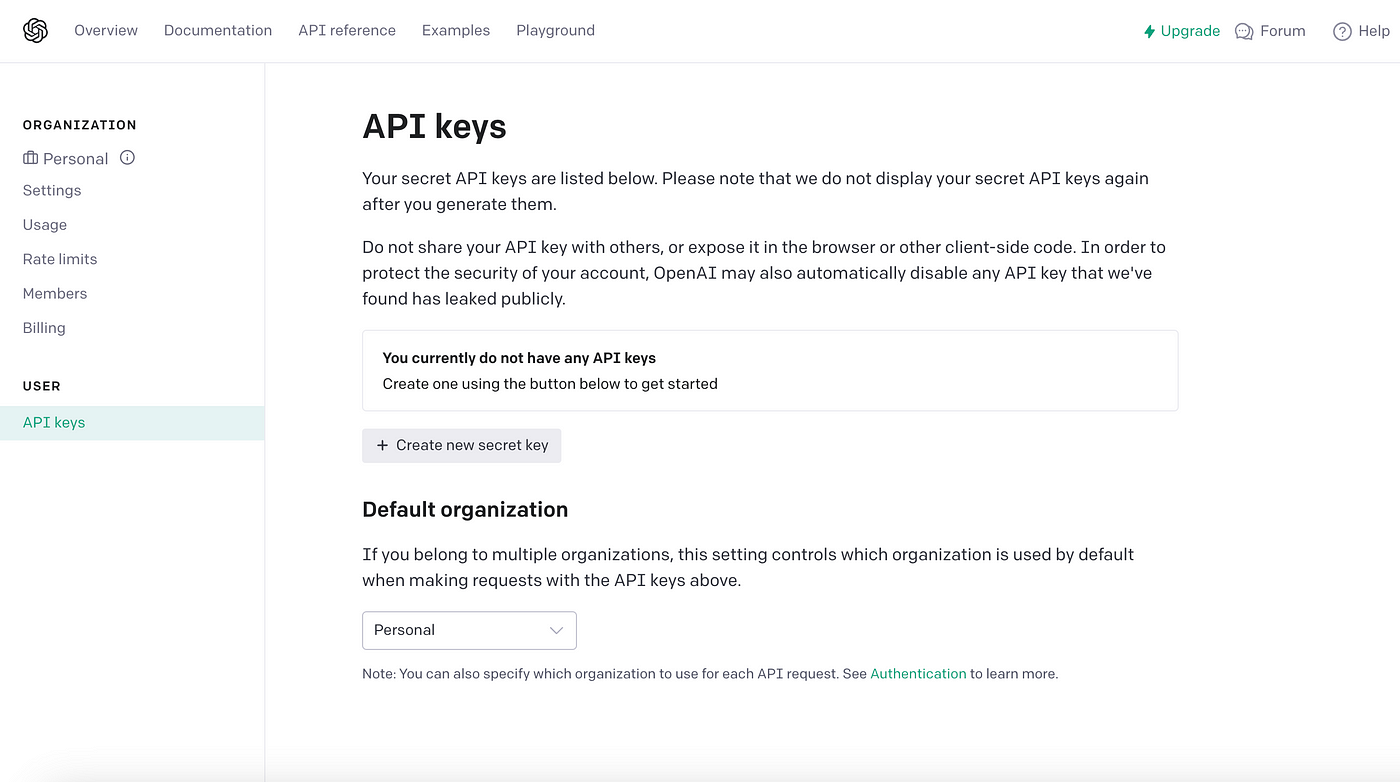
Step 3: Obtaining Your API Key
After signing up and logging into your OpenAI account, navigate to the API section to generate an API key. This key will serve as the authorization token when making requests to the API. Keep this key secure and avoid sharing it publicly.
Step 4: Creating Your TypeScript Node.js Project
With OpenAI preparations complete, it’s time to set up your development environment for building the chatbot backend. We’ll use TypeScript and Node.js for this purpose. If you haven’t already, make sure Node.js is installed on your system.
Open your terminal and navigate to the directory where you want to create your project. Use the following command to initialize a new Node.js project:
This command will guide you through the process of creating a package.json file for your project.
Step 5: Installing TypeScript and Required Dependencies
To enable TypeScript support for your Node.js project, we’ll install TypeScript and the necessary type definitions. Use the following commands:
Step 6: Creating a TypeScript Node.js Script with Webhook Support
In this step, we’ll modify our TypeScript Node.js script to handle incoming POST requests as a webhook. We’ll use the Express.js framework to create a simple webhook endpoint that logs incoming data and sends a response.
Install Required Dependencies
Begin by installing the required dependencies, Express.js and Axios, with the following command in your project directory:
Configuring TypeScript and Compiling
Now that we’ve added Express.js to our project, we need to install its TypeScript type definitions. Run the following command:
Update the TypeScript Code
Modify the <span id="greylight" class="greylight">app.ts</span> file to use Express.js and create a webhook endpoint that listens for POST requests. Replace the existing content of <span id="greylight" class="greylight">app.ts</span> with the following code:
In this code, we import the Express module, create an instance of the Express application, and define a webhook endpoint that handles incoming POST requests. The data received is logged, and a JSON response is sent to confirm successful data reception.
Step 7: Configuring TypeScript
Create a <span id="greylight" class="greylight">tsconfig.json</span> file in the root of your project to configure TypeScript settings. Here's a basic example:
This configuration specifies that TypeScript files from the <span id="greylight" class="greylight">src</span> directory will be compiled to the <span id="greylight" class="greylight">dist</span> directory.
Step 8: Creating a Webhook URL with Ngrok
Now that we have our TypeScript Node.js application ready, it's time to create a webhook URL so we can receive text message events from Amity. Follow these steps and be sure to create Ngrok account first to get the authentication token.
Step 1: Install Ngrok
Now, let’s install Ngrok globally on your system
This command installs Ngrok and makes it accessible from any directory in your terminal.
Step 2: Create an Environment (.env) File
In your project root directory, create a new file and name it <span id="greylight" class="greylight">.evn</span>. You can use a text editor or create it using the terminal:
Open the <span id="greylight" class="greylight">.evn</span> file using a text editor, and define your environment variables. For example:
Replace the values with your specific configuration. Here’s a brief explanation of the variables:
- <span id="greylight" class="greylight">PORT</span> : The port on which your Node.js server will listen.
- <span id="greylight" class="greylight">OPENAI_API_KEY</span> : Your OpenAI API key (if applicable for your project).
- <span id="greylight" class="greylight">NGROK_AUTH_TOKEN</span> : Your Ngrok authentication token.
Save and close the <span id="greylight" class="greylight">.evn</span> file.
Step 3: Configure Your Node.js Application to Use Environment Variables
In your TypeScript code (e.g., <span id="greylight" class="greylight">app.ts</span>), configure your Node.js application to use the environment variables you defined in the <span id="greylight" class="greylight">.env</span> file. You can use a library like <span id="greylight" class="greylight">dotenv</span> to load the environment variables into your project.
First, install <span id="greylight" class="greylight">dotenv</span> as a dependency:
Then, at the top of your TypeScript file, import and configure <span id="greylight" class="greylight">dotenv</span>
With this setup, you can access environment variables using process.env, such as <span id="greylight" class="greylight">process.env.PORT</span>, <span id="greylight" class="greylight">process.env.OPENAI_API_KEY</span>, and so on, throughout your application.
Step 4: Start Ngrok to Create an HTTPS Tunnel
Open a new terminal window, navigate to your project directory, and start your Node.js application:
Then, open a new terminal window and start Ngrok to create an HTTPS tunnel with the command below:
Replace <span id="greylight" class="greylight">3000</span> with the port number your Node.js server is listening on if it's different, for us we’ll be using port <span id="greylight" class="greylight">3000</span> as declared in the <span id="greylight" class="greylight">.env</span> file.
Step 5: Access Your TypeScript Node.js Application
You can now access your TypeScript Node.js application over HTTPS using the Ngrok-generated Forwarding URL. Open a web browser and enter the HTTPS URL provided by Ngrok. This URL will serve as our webhook URL, which we’ll use to subscribe to Amity’s Real-Time Events. The ngrok URL should look similar to the example below:
Don’t forget that our webhook path is /webhook therefore the webhook URL should look similar to this
Part 2: Getting Started on Amity
With our webhook URL ready, it’s time to integrate Amity into our chatbot application. Amity’s ability to publish real-time events will allow us to subscribe to these events, extract text messages sent by users, and input them into OpenAI for chatbot capabilities.
Prerequisites
- If you haven’t already registered for an Amity account, we recommend following our comprehensive step-by-step guide in the Amity Portal to create your new network.
- You’ll need to request for feature enablement to be able to use webhook, please submit your request here.
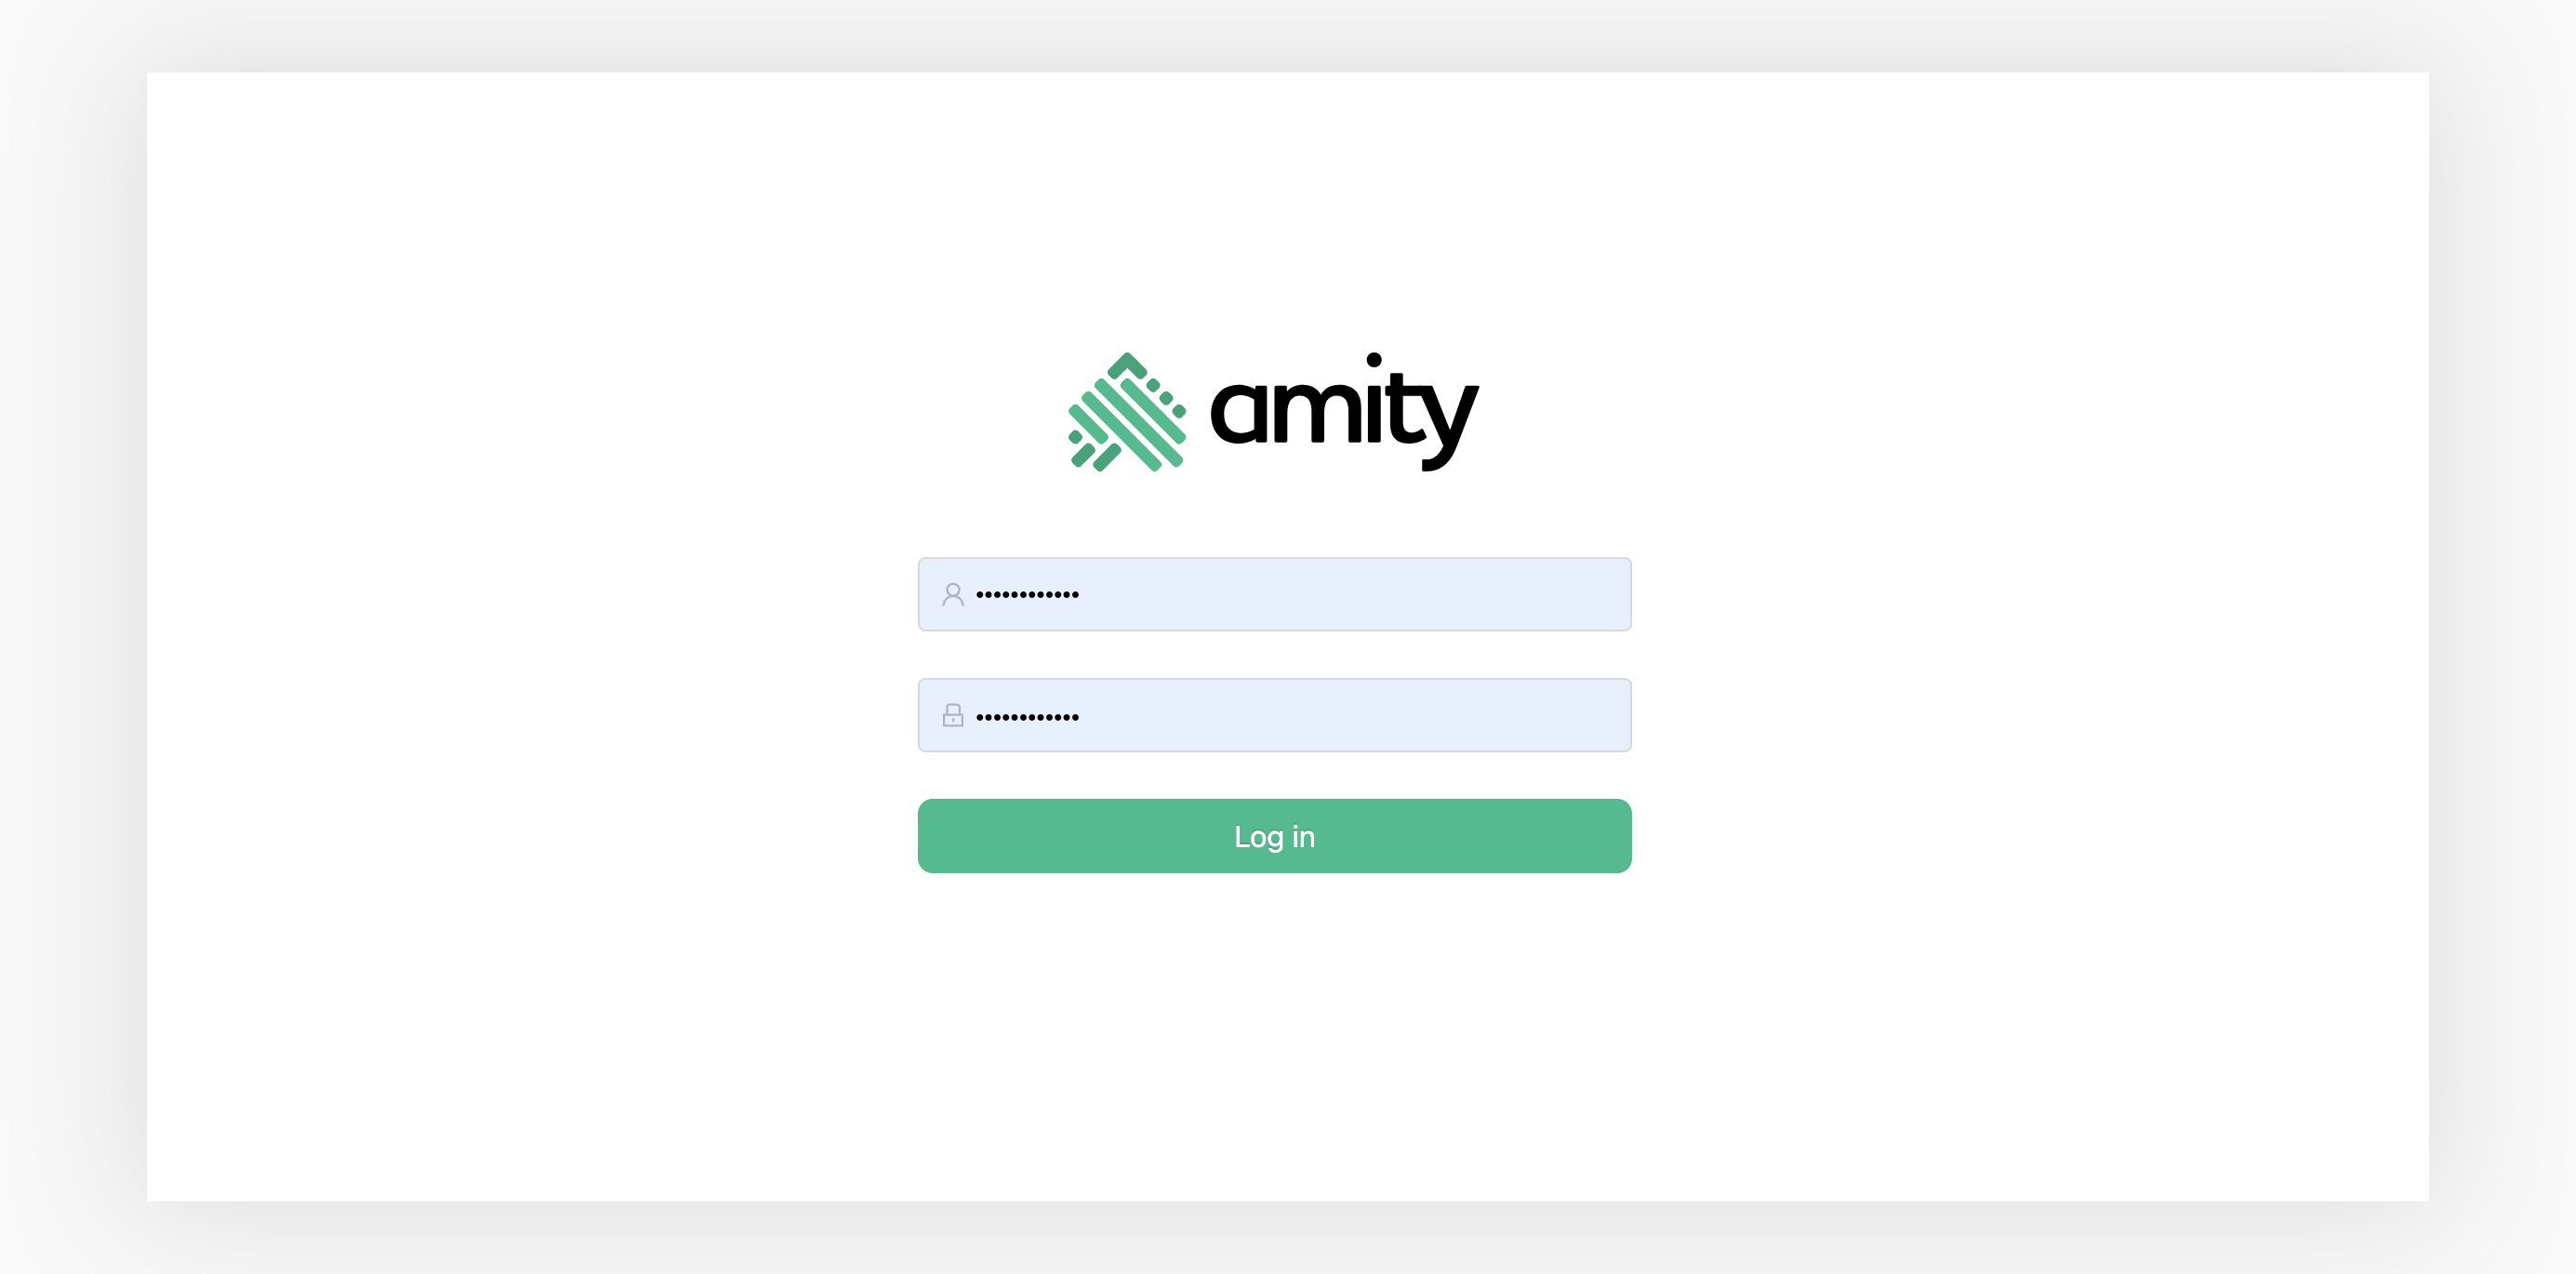
Step 1: Go to Amity Console
Simply navigating to Amity Console and log-in with your credentials.
Step 2: Navigate to Webhook Menu
Click on the “Webhook” menu on the left-hand side of the Amity Console.
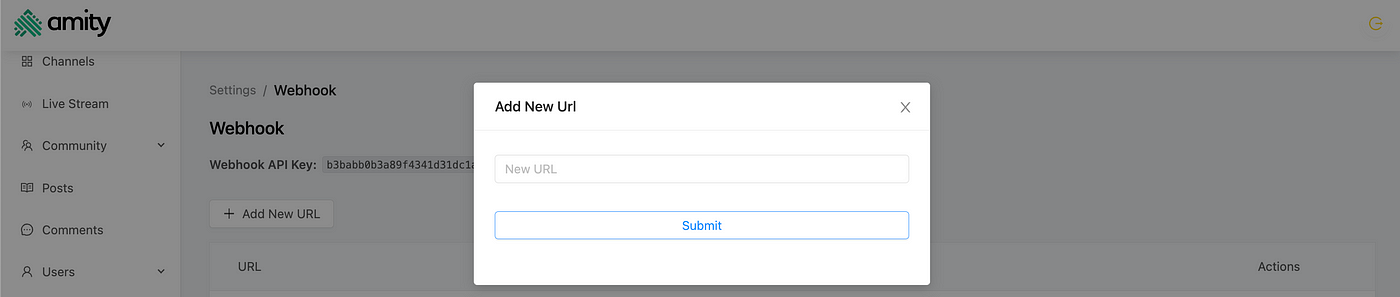
Step 3: Add Webhook URL to Amity Console
Click on “Add URL” button, enter the newly created webhook URL (https://your-ngrok-url.ngrok.io/webhook) and click Submit.
Step 4: All Done
Congratulations! You’ve successfully subscribed to Amity Real-Time Events. Now, let’s focus on our Node.js application’s functionality.
Part 3: Connect Amity Chat Message to OpenAI
Now that we have established the webhook, it’s time to modify our webhook function to extract text information from Amity message events and send them to OpenAI.
Step 1: Create Object Types for Amity Message Events
In TypeScript, types are crucial for ensuring type safety, enhancing code quality, and improving productivity. Let’s create a <span id="greylight" class="greylight">types.ts</span> file at the root of the project directory and define types for Amity message events. We'll include only the relevant fields in these types.
Step 2: Extract Amity Message Event Information
Let’s update our webhook function to convert the received object into <span id="greylight" class="greylight">MessageEventData</span> and extract the message's text.
Step 3: Send Message Text Data to OpenAI
Now that we have extracted the message’s text data, it’s time to send it to OpenAI for processing and obtain our chatbot’s response. First, let’s update our webhook function to call the OpenAI API with the received message text.
In this updated code, we have added a section dedicated to interacting with the OpenAI API to obtain a chatbot response. Here’s a brief explanation of the OpenAI-related section:
- Async Function for OpenAI Interaction:
This is an asynchronous function named <span id="greylight" class="greylight">getChatCompletions</span>, responsible for making a request to the OpenAI API to obtain chatbot completions based on the input message.
2. Axios Request Configuration:
This part defines the configuration for the Axios HTTP request sent to the OpenAI API. It specifies the method, URL, headers (including the API key), and the JSON data payload that includes the user’s message and other parameters like the model and temperature.
3. Try-Catch Block for Making the Request:
Within the try block, Axios is used to send the request to the OpenAI API. The response from the API is stored in the <span id="greylight" class="greylight">response</span> variable for further processing. If any errors occur during the request, they are caught in the <span id="greylight" class="greylight">catch</span> block, and an error message is logged.
4. Handling OpenAI Response:
After receiving a successful response from the OpenAI API, the code logs the chatbot’s response content and extracts it from the response object. The chatbot’s response is stored in the responseText variable and returned from the function.
Part 4: Send openAI message back to the user through Amity API
Now, we will send the response back to the user by calling the Amity send message API and passing the OpenAI response as the API’s request body.
Step 1: Get the Amity channelID
Let’s update our webhook function to store the message sender ID and channel ID where the conversation is happening, so we can send the message to the correct conversation.
Step 2: Authorize with Amity to get access token
Amity’s robust security system is fortified by the use of access tokens. These tokens play a vital role in ensuring the safety of the system by allowing only authorized interactions. They act as protective shields, enhancing the overall security and integrity of the platform.
So first let’s update our .env file to store Amity API Key and chatbot userID
We’ve added 2 more fields here
- <span id="greylight" class="greylight">AMITY_API_KEY</span>: Your Amity API key (Which you can check at Amity Console => Security menu at the bottom of the sidebar).
- <span id="greylight" class="greylight">AMITY_USERID_KEY</span>: Your unique Amity Chatbot user ID ( Can be anything e.g. XYZ )
Then create a dedicated function to get the access token
Step 3: Create a message and send it back to user
Now that we have the access token generation function, let’s call Amity send message API to send the message back to the user.
First let’s create a send message function
Then let’s update our webhook function to call this method after we have received response from openAI
However, this code can cause an infinite loop as when the message is created, Amity will publish a Real Time Event which will then enter the webhook function and then the if condition so let’s modify our app.ts to handle this case
First let’s declare an array of string to stored created messageId.
We’ll be storing any message Ids created by the chatbot, then let’s update our create message function to stored created messageID into the array
Finally, let’s update our webhook function to prevent infinite loop
With these changes, we can now prevent infinite loop!
Conclusion
Congratulations! In this part of the tutorial series, we’ve laid the foundation for our React Native chatbot app by setting up a TypeScript Node.js backend, configuring webhooks with Amity, and integrating the OpenAI API to process user messages and provide chatbot responses.
In the next part of the series, we’ll dive into building the React Native front-end for our chatbot app. We’ll explore how to create a user-friendly interface and establish real-time communication between the app and our backend.
Now let’s continued for Part 2: Building the React Native front-end to continue your journey in creating an AI-powered chatbot React Native app that combines the best of Amity and OpenAI.
If you want to know more about Amity’s features, feel free to explore more on our website. And if you’re certain that a ready-made solution is more suitable for your business vision and goal, begin your journey by contacting us!