

Are you seeking to optimize the management of your online communities? This tutorial presents an insightful investigation into the world of intelligent moderation. By integrating this powerful tool, your community can thrive through carefully curated interactions, creating a space where members feel welcomed and secure.
Through the guidance of Amity Social Cloud Console, we will demonstrate the ease of promoting moderators with specific permissions, ensuring the content aligns with community guidelines. Discover how this strategic approach fosters a cohesive and enriching digital environment, laying the foundation for sustained growth and enhanced engagement.
Join us as we explore the art of building robust, professional, and vibrant communities, prioritizing safety and fostering long-lasting connections. This is a perfect complement to the previous tutorial, Using AI for community management: How to use AI moderation in Amity Console, where we explore the use of AI in Amity Console.
Pre-requisites
Before you begin, you will need the following:
- An ASC Portal account;
- An ASC Console Account;
- An app instance integrated with your platform (can use Amity UI Kits as a sample project).
Note: If you haven’t already registered for an Amity account, we recommend following our comprehensive step-by-step guide on how to create your new network.
1. Accessing ASC Console and Finding Your Community
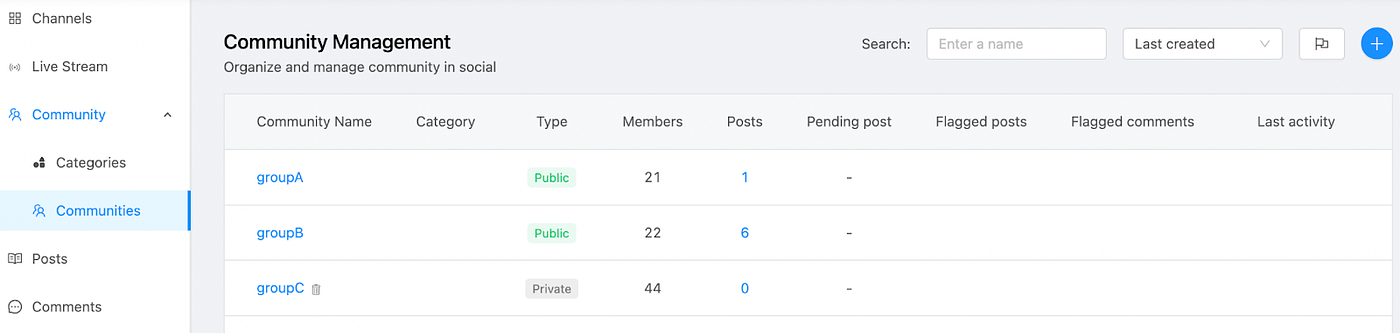
To begin, log in to Amity Social Cloud Console and locate the community you want to moderate. If you’re starting a new community, you can create it directly from the console. Simply select the “Community Name” to view all the essential details of your chosen community.
2. Ensuring a Moderator is in Place
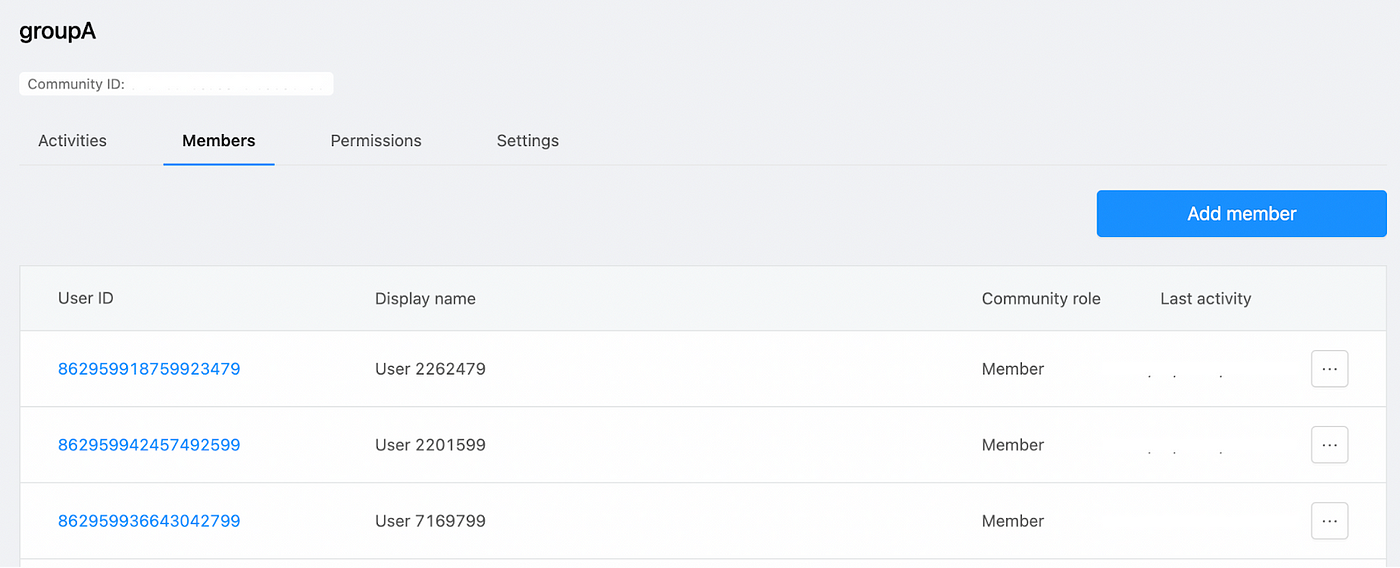
For effective moderation, make sure you have at least one user assigned as a moderator. In the Community view, head to the Members tab and check the “Community role” column. If you need to assign a new moderator, follow these steps:
- Click on the three dots at the end of the user’s line;
- Select “Change User Role”;
- Choose “Moderator” to grant them the required permissions.
3. Configuring Community Permission Settings — Approved Posts Only
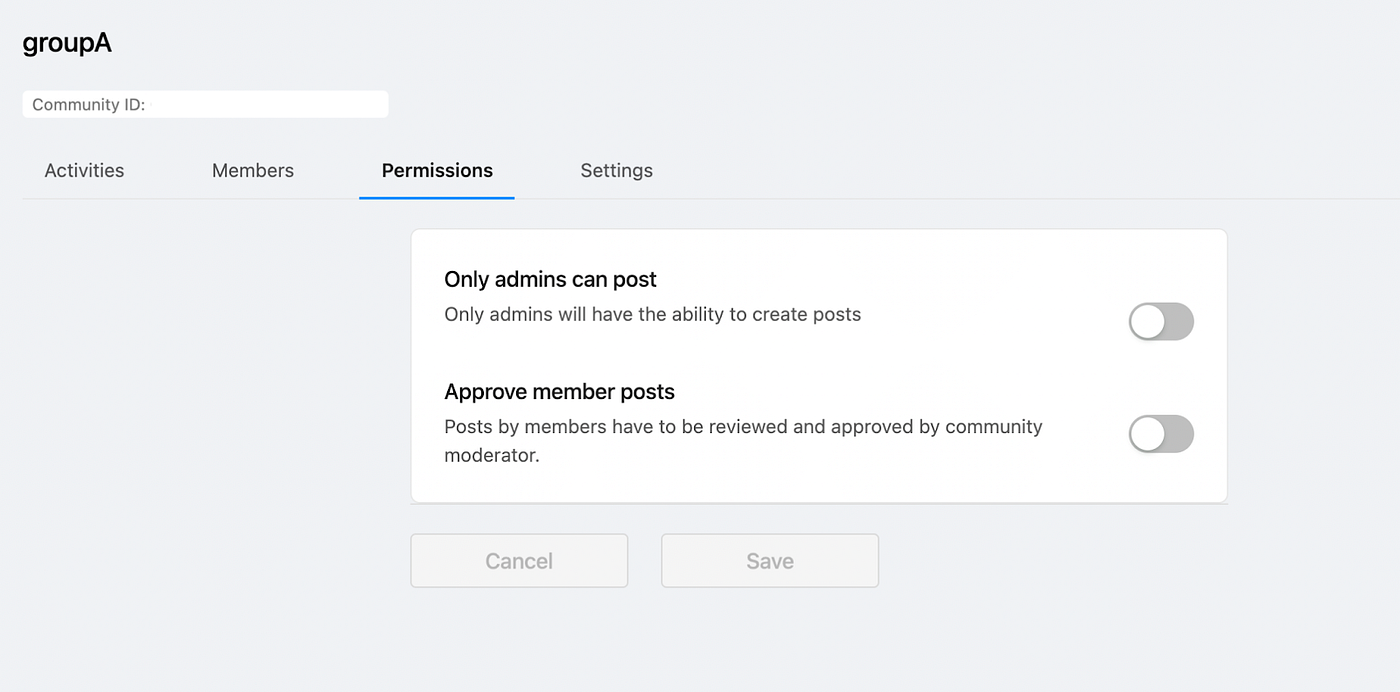
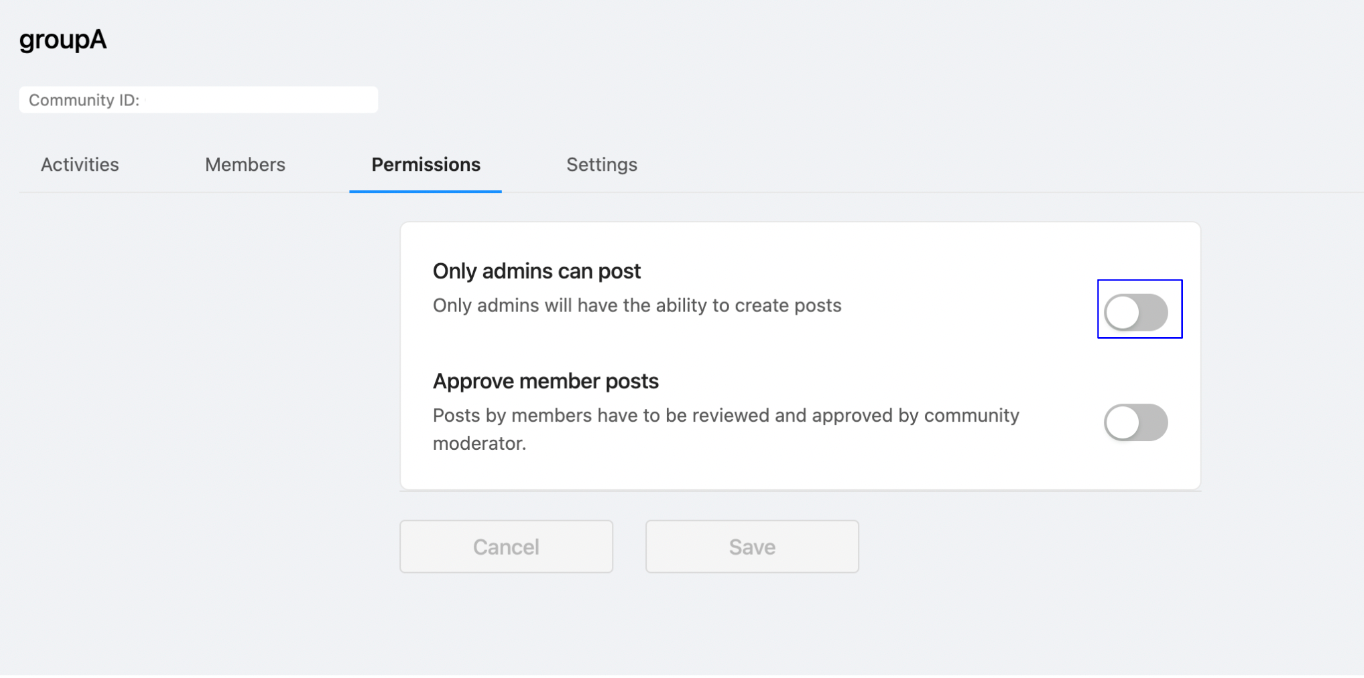
Navigate to the Permissions tab and explore the “Approve member posts” option. Enabling this setting ensures that all posts submitted by community members require moderator approval before becoming visible.
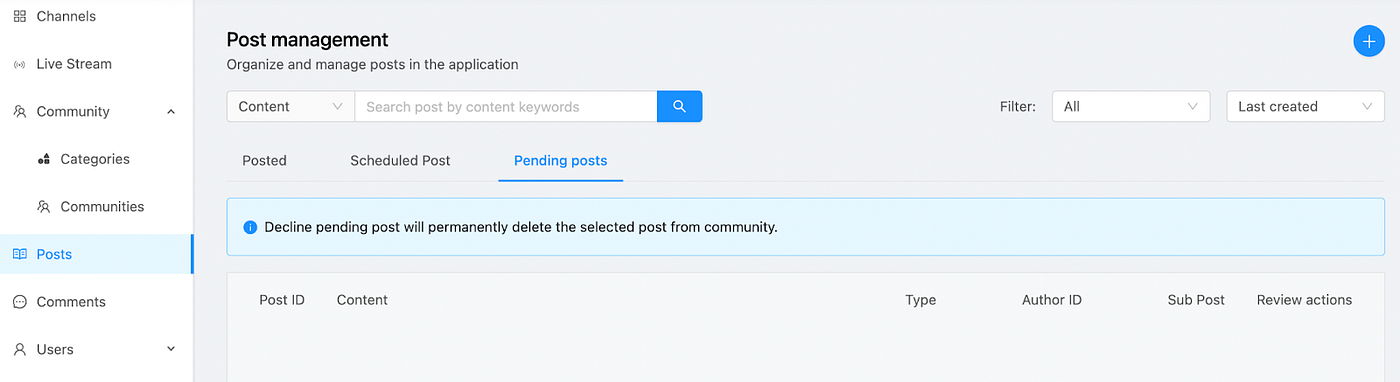
Moderators will have access to the “Pending posts” section in the console, where they can review and approve or reject pending posts.
4. Configuring Community Permission Settings — Admins Posts Only
Alternatively, you can select the “Only admins can post” option to restrict post publishing to community admins only. This option is ideal for organizations seeking to communicate with community members while maintaining strict control over content creation.
5. Gradually Opening Your Community
As your community gains traction and you become familiar with moderation effectiveness, you may choose to open it up to all members. At this stage, you can turn off either of the two options mentioned earlier, allowing members to publish posts without requiring approval or restricting the privilege to admins.
Final Thoughts
Amity Console empowers you to customize your community’s moderation level seamlessly. Starting with rigorous moderation and eventually opening up to all members can enhance engagement and foster a vibrant community. In today’s world of significant online interactions, managing content effectively is more crucial than ever.
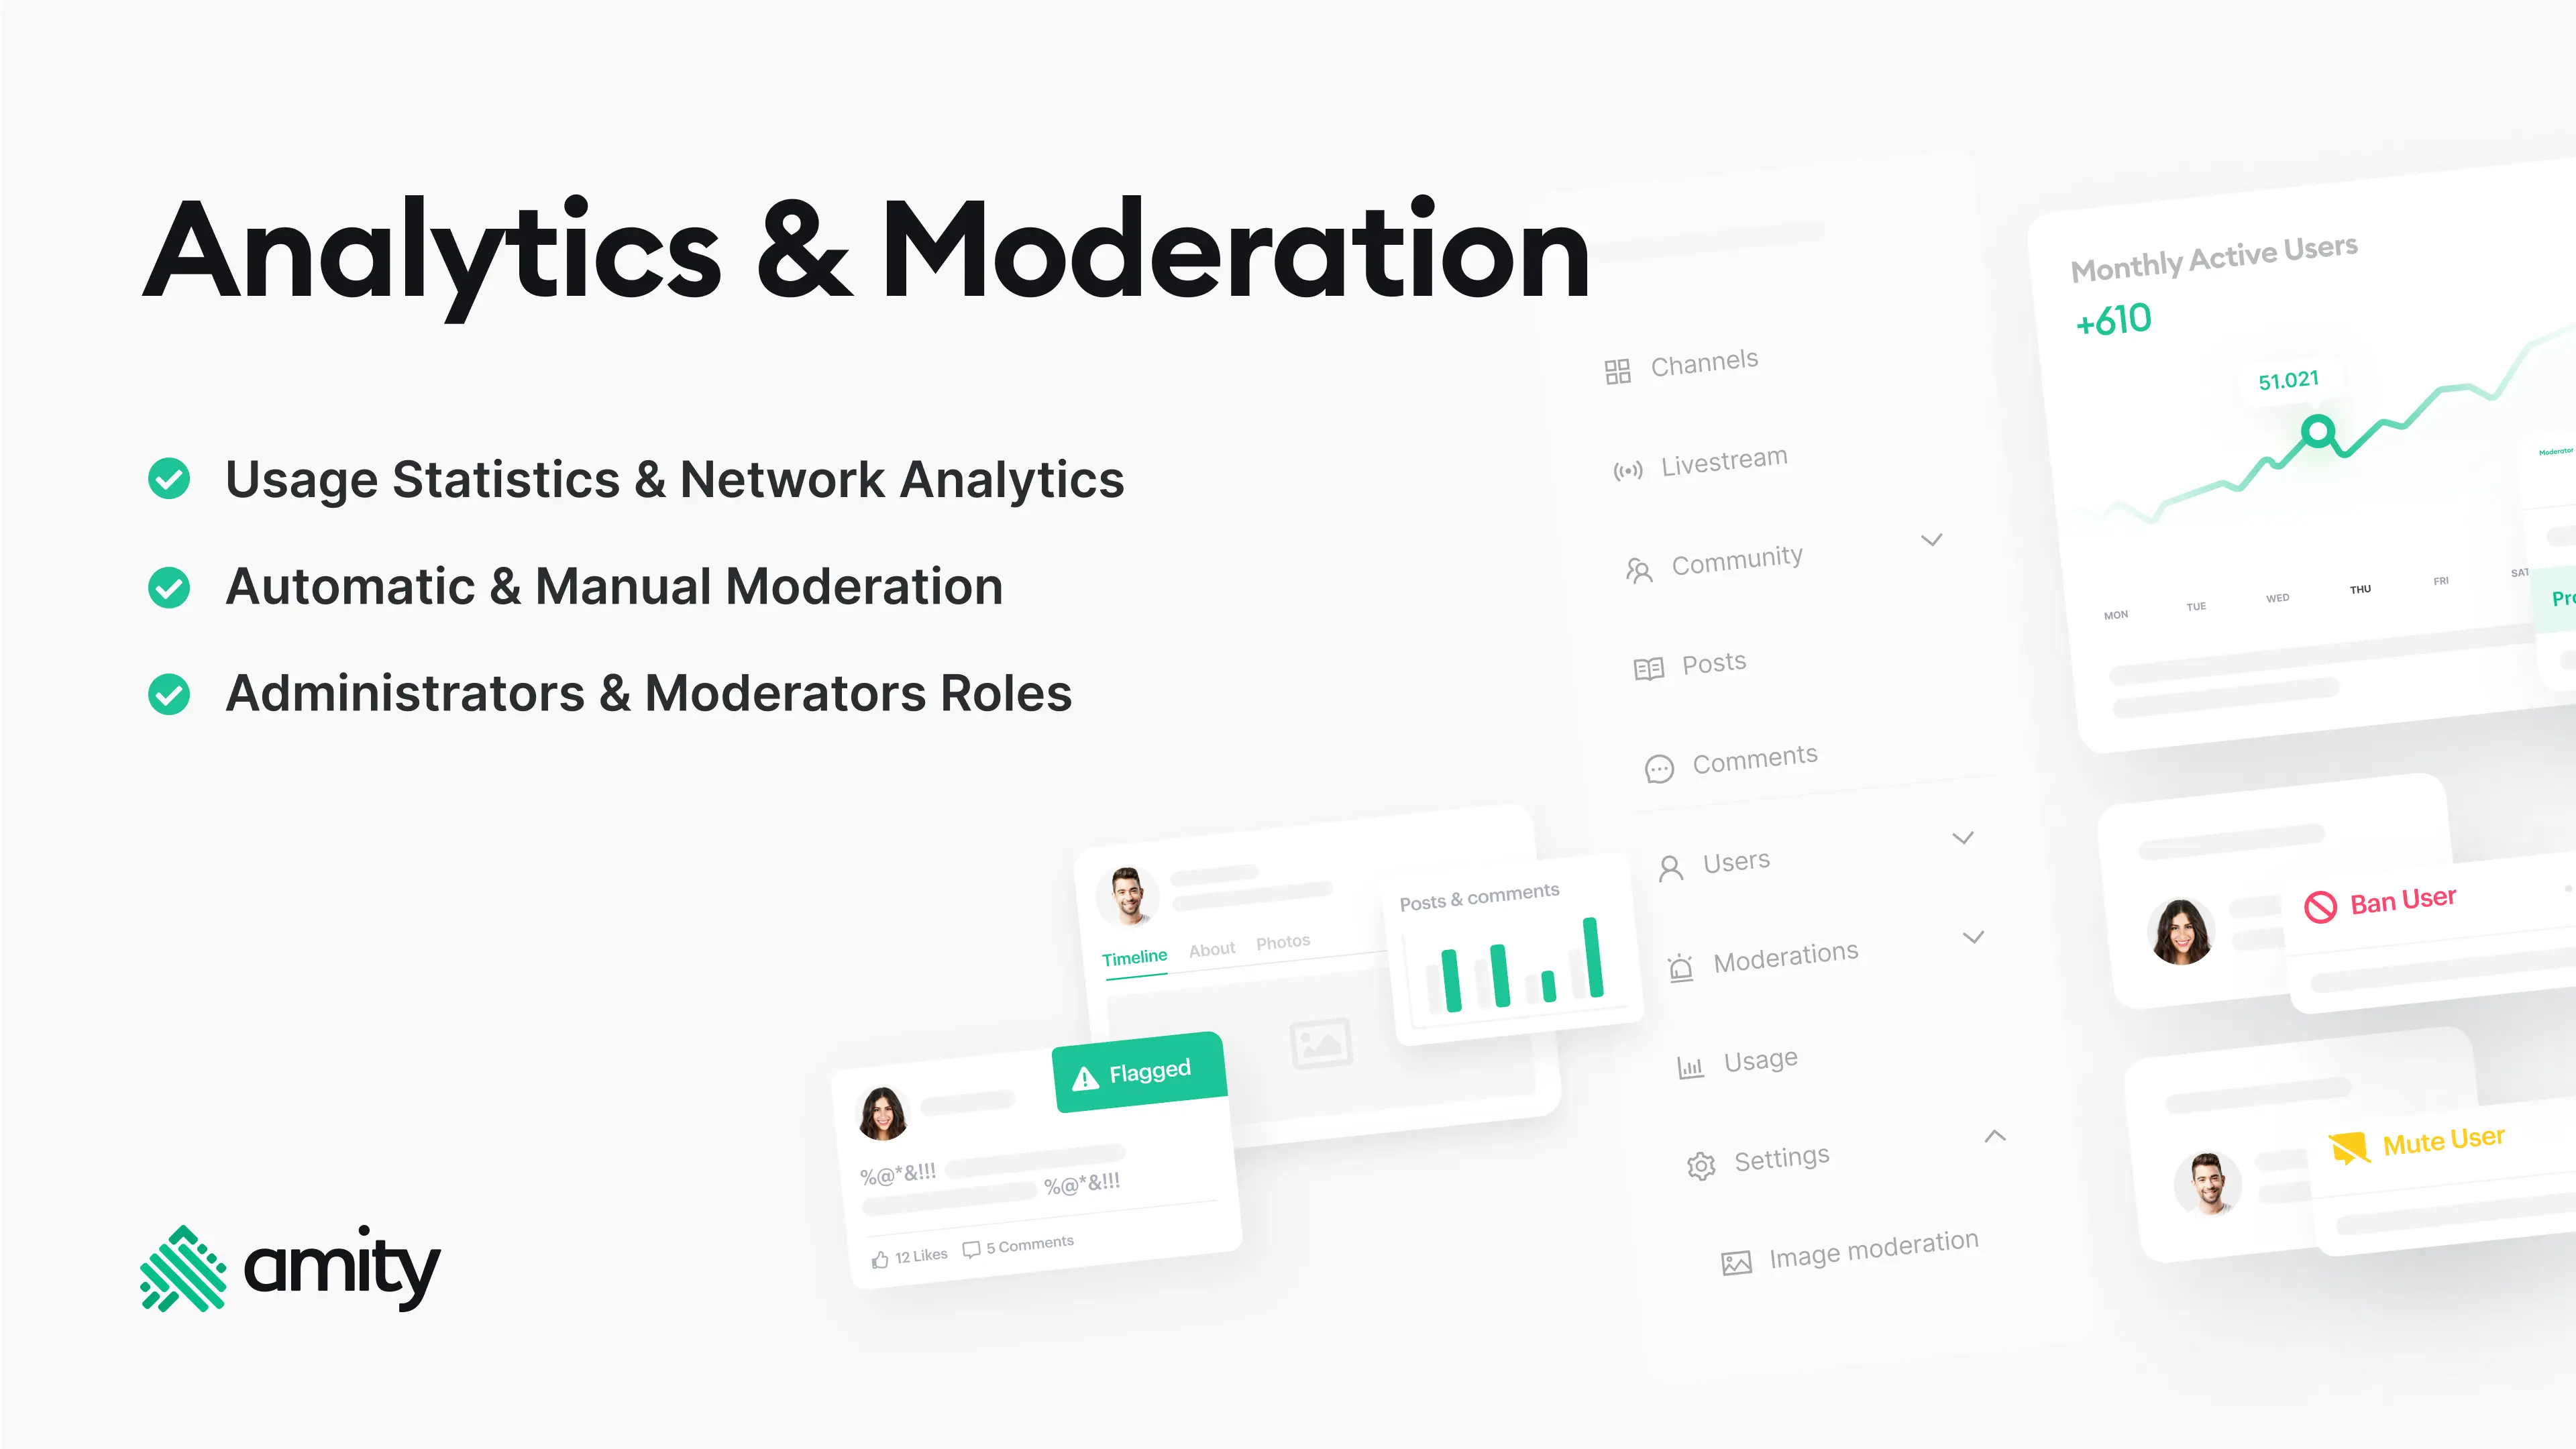
Empower moderators with the necessary tools for controlling and managing permissions using automatic and manual moderation capabilities through the Amity Analytics & Moderation Panel. Further details on the Amity Console can be found in Amity’s documentation.